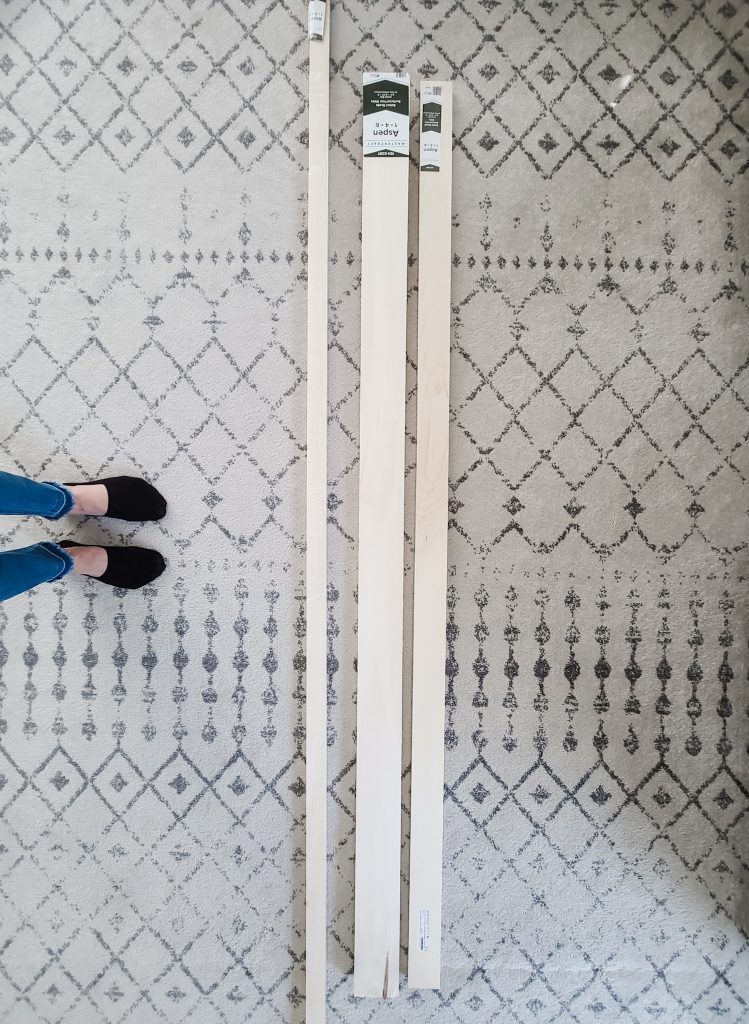
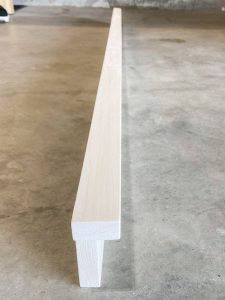
Sand each board to make sure all are smooth

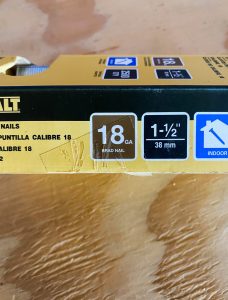
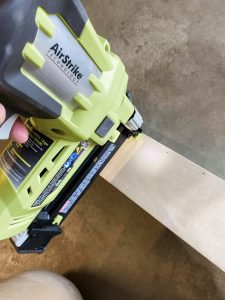
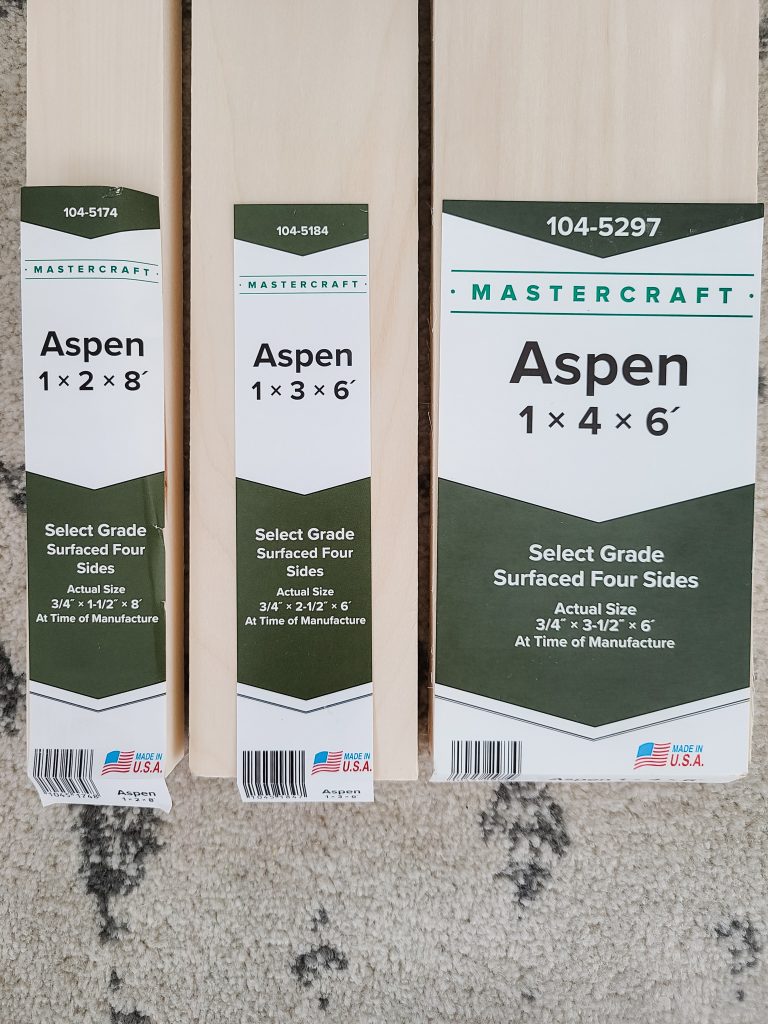
Next, the 1×4 will be connected to the opposite side of the 1×3. The 1×4 is the board that will be attached to the wall. Use the 1 1/2″ sized nails with the nail gun to attach the boards.
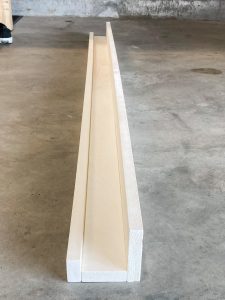
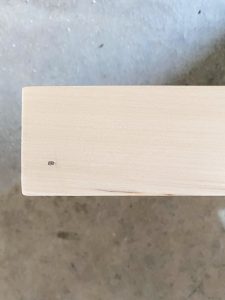
Once assembled, use natural wood filler to fill the nail holes, while still maintaining the natural look of the wood. (You could also use painter’s caulk). We chose not to stain or paint our ledge, but you definitely could!
Once dried, sand the holes for a flush finish.
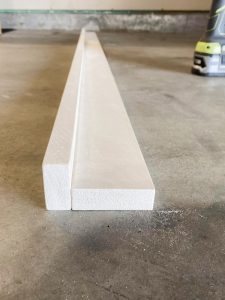
Before installing to the wall use a tack cloth to remove any debris from the sanding
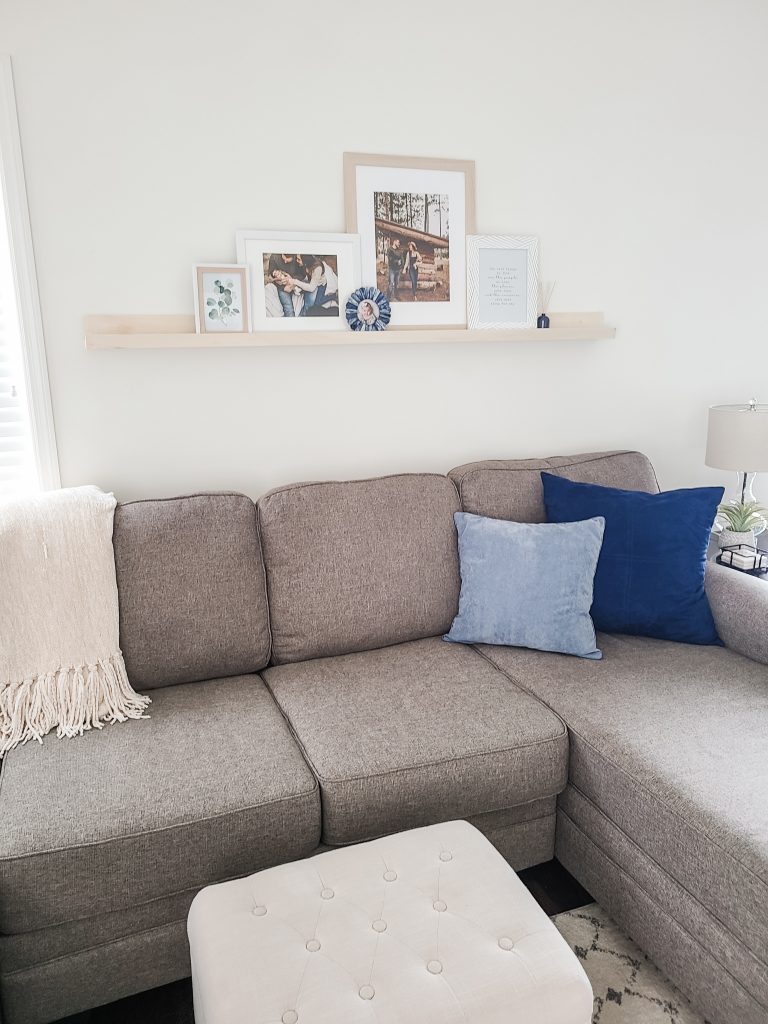
Mark on your wall where you want to place your shelf
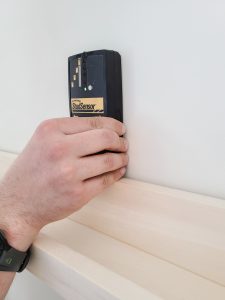
Once finished, find and mark the studs along the length of the shelf using a stud finder.
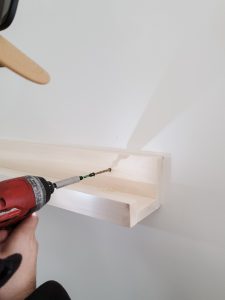
Use an impact driver to drill 2 1/2″ nails through the shelf, into the studs
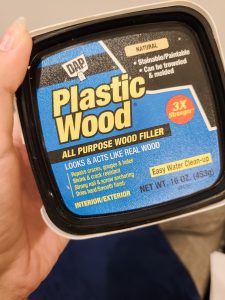
Use plastic wood filler to fill in the holes.
Once it dries, sand and clean for a smooth finish!
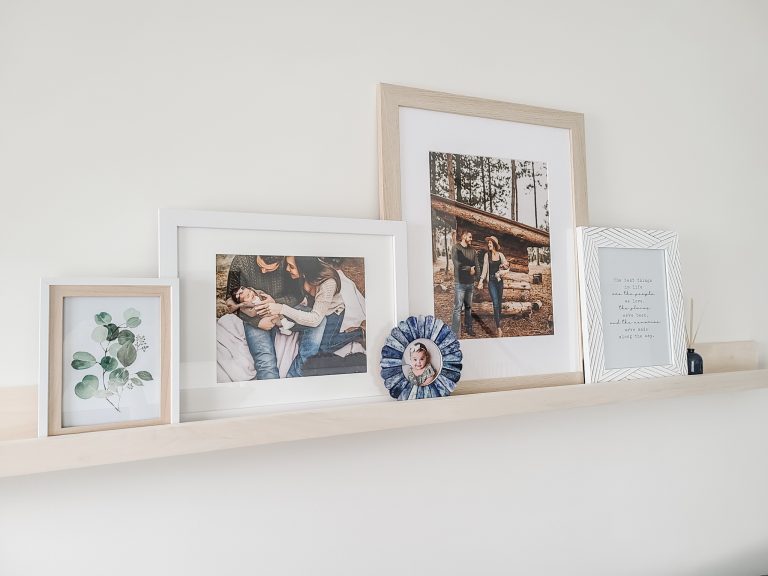
Decorate!
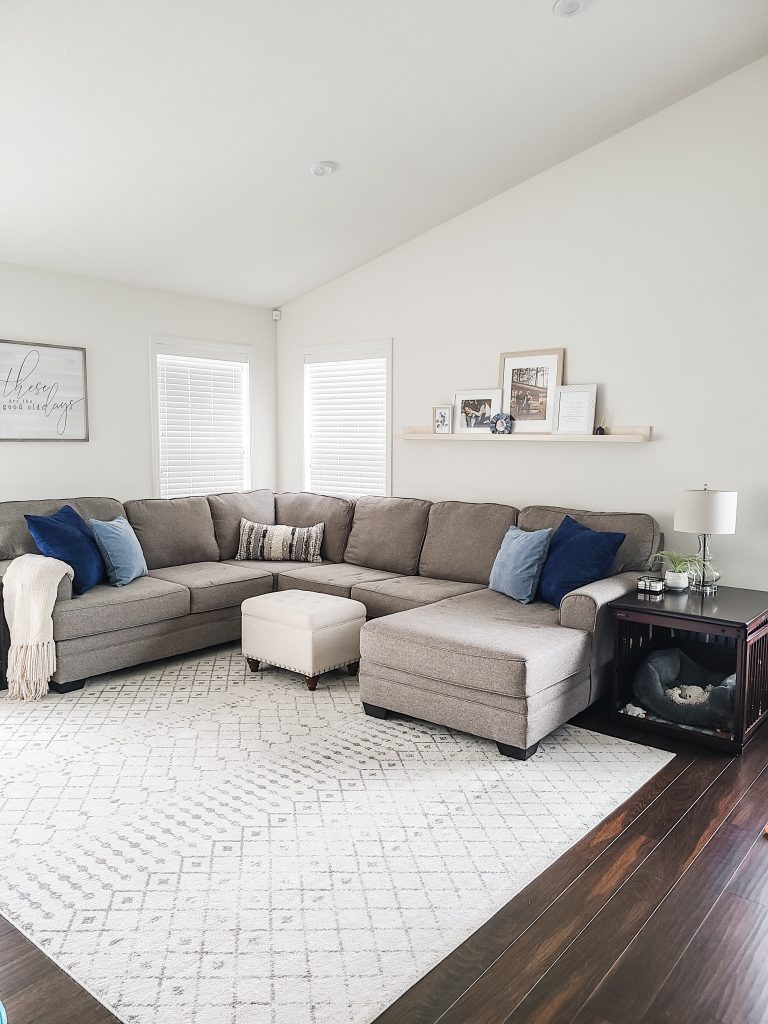


Great job you guys. You 2 can achieve anything working together. It looks really nice!